
Hostwinds Tutorials
Search results for:
The focus of this article is to show you how to check active disk quotas that may be in place in Virtualmin. This article implies that you have already installed Virtualmin. If you have not done so yet, please look at the following article: How to install Virtualmin (CentOS 7).
Determining how much space each user on your server is taking up can be beneficial information. However, proactively ensuring that users on your server aren't overusing the available disk space can promote a more fair environment for everyone. With that in mind, administrators will often institute a disk quota to ensure everyone uses an equal portion of disk space. This is a fairly standard function in most control panels, and Virtualmin is no exception.
Before we get started, you'll need to log in to your Virtualmin or Webmin account. If you're not certain how to do this, or it may have been a while since you last logged in, please review the following article, which should assist you with: How to login to Webmin. By default, Virtualmin should have a disk quota in place. However, if there is no active disk quota policy on your server and you'd like to set one up, please refer to the following article: How to modify Disk Quotas in Virtualmin. Once you're logged and ready to proceed, please review the following steps.
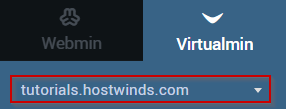
- Under the Virtualmin section, select the domain from the dropdown menu for which you'd like to check the disk quota.
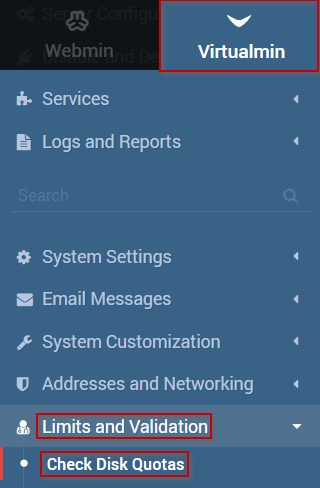
- Select Limits and Validation
- Click on the Check Disk Quotas option
- Select the Disk quota check options that best suit your needs
- Once you're satisfied with your selections, click the Check Now button
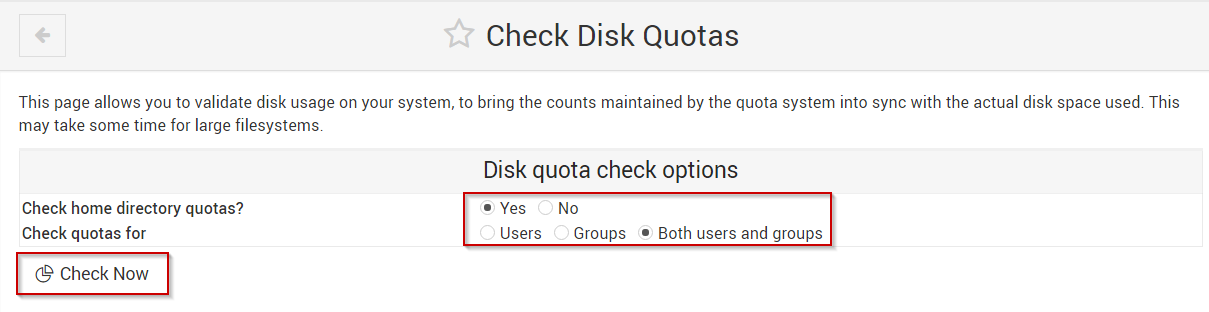
This will sync the actual disk space that is being used with the disk quota system. Please note that this process may take quite a while to complete on systems that have larger disks/filesystems.
Written by Michael Brower / June 22, 2017