
Hostwinds Tutorials
Search results for:
Table of Contents
How to Edit a Package in cPanel / WHM
Tags: WHM
After you have created a Package within WHM, there may come a moment where you will need to make changes to the Package Settings or Resource Limitations. This can result from noticing many resources being used on the server around one account or wanting to shift your package limits around. In any case, this guide will help you to be able to edit your packages in WHM.
Where To Edit Packages Within WHM
Step One: Log into your WHM Administrative Dashboard.
Step Two: In the upper left, where you can search for items, type in "_Packages_" and hit enter.
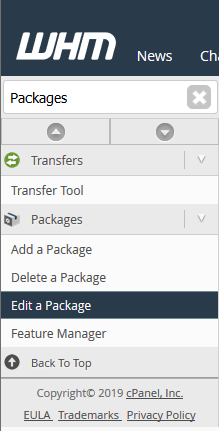
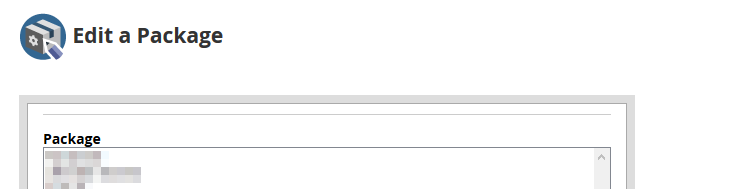
Step Three: From the available options, click on Edit a Package. This will bring you to a page where you can view the current packages on the server and make changes.
Editing the Package
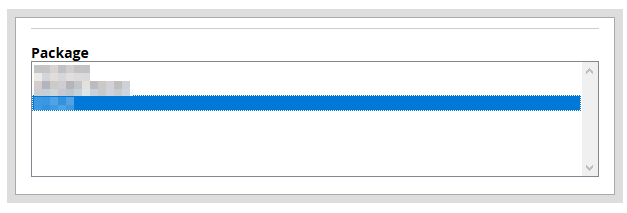
Step One: From the list of available packages, click on the package you would like to edit. This will highlight the selected package.
Step Two: After confirming you have selected the appropriate package for editing, click on Edit.

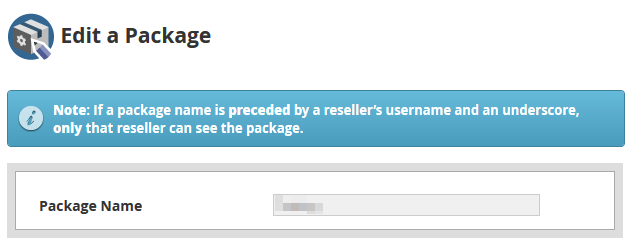
Step Three: This will take you to a page where you can view and edit the previously set settings for the package. This process is very similar to Adding a new package, though some options cannot be changed. Such as the name of the package.
Step Four: In the Resources section, you will change each of these to how you would like for the package.
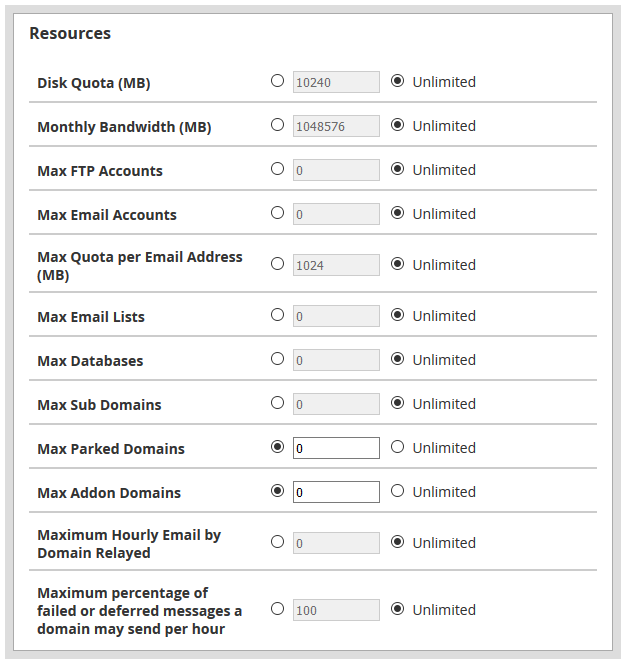
- Disk Quota (MB) – This is the maximum disk file storage that you will allow for the cPanel accounts in Megabytes. You also have the option to set Unlimited, where the accounts will not be limited to their file storage.
- Monthly Bandwidth (MB) – This is the monthly bandwidth usage allowed for the cPanel accounts.
- Max FTP Accounts – This will control the maximum amount of FTP accounts made in the cPanel account. You can specify a number or leave it as Unlimited.
- Max Email Accounts – You also have the ability to limit the email addresses that can be made on the cPanel accounts or leave them as Unlimited for no limit.
- Max Quota per Email Address (MB) – Similar to the Disk Quota, however, this would apply to each individual Email Address created on the server. This can help to limit the number of emails is permitted for storing on the server.
- Max Email Lists – This will control the maximum amount of email lists that can be made under each cPanel account using this package.
- Max Databases – You will also be able to limit the number of databases on a cPanel account at any given time.
- Max Sub Domains – With each cPanel account, there is the option to create subdomains of any of the domains in that account. This option will allow you to limit to a certain amount of subdomains that can be created, or you can leave as Unlimited.
- Max Parked Domains – With a Parked Domain, you can still have a hosted domain on the server, though temporarily without content. This option allows you to limit the Maximum Parked Domains that can be on each cPanel account.
- Max Addon Domains – Each Addon domain would essentially be another domain hosted alongside the Primary domain for the cPanel account. This option allows you to limit the number of addon domains that can be created.
- Maximum Hourly Email by Domain Relayed – To help protect against the server being used for Spam, you also can set a max hourly email limit by domain.
- Maximum Percentage of Failed or Deferred Messages A Domain May Send Per Hour – This is another feature that allows protecting against spam. This setting can be used only to allow a certain percentage of Failed or Deferred Messages to be resent per hour.
Step Five: After setting the new resource limitations for the Package, you will change the settings. However, the option for changing if a Dedicated IP address is provided with the Package cannot be changed.
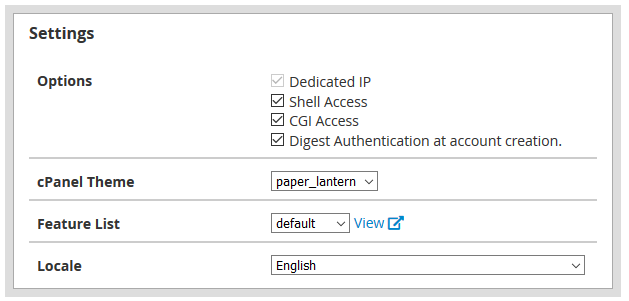
- Shell Access – This will allow the cPanel accounts to have Shell / SSH Access to the server.
- CGI Access – With this, you will allow the cPanel accounts created under this package to use CGI Scripts.
- Digest Authentication at account creation – This setting will allow support for cPanel Web Disk to be accessed with an unencrypted connection and plain text.
- cPanel Theme – This is the default theme selected for the cPanel accounts created using this package.
- Feature List – For extra customization of what the cPanel account can do, you can use the Feature Manager to set the features in a feature list.
- Locale – This sets the default language for the cPanel accounts created.
Step Six: Once you have finished changing all the options for the package, click the Save Changes button at the bottom of the page.

If everything were saved successfully, a small dialog box in the lower right corner would indicate success.

If you are not satisfied with the changes that you entered and want them to show back to how they were, you can click the Reset button at the bottom.

Written by Hostwinds Team / March 19, 2019