
Hostwinds Tutorials
Search results for:
This guide will go over how to install and configure Postfix and s-nail to send and receive mail on your Ubuntu 18.04 server. You will need to connect to your server using SSH as root or a superuser for this guide. To continue, a Hostwinds Cloud, VPS, or Dedicated Server should be ready for use.
As always, before making any changes to your server or continuing with this guide, we highly suggest you have a good working backup of your server.
As always, make sure your server is up to date.
Step 1: Install and configure Postfix.
The first step is to install Postfix. We are using DEBIAN_PRIORITY=low to see more options during installation.
Type the following into the terminal
sudo DEBIAN_PRIORITY=low apt install postfix -y
Next, we will want to configure some options:
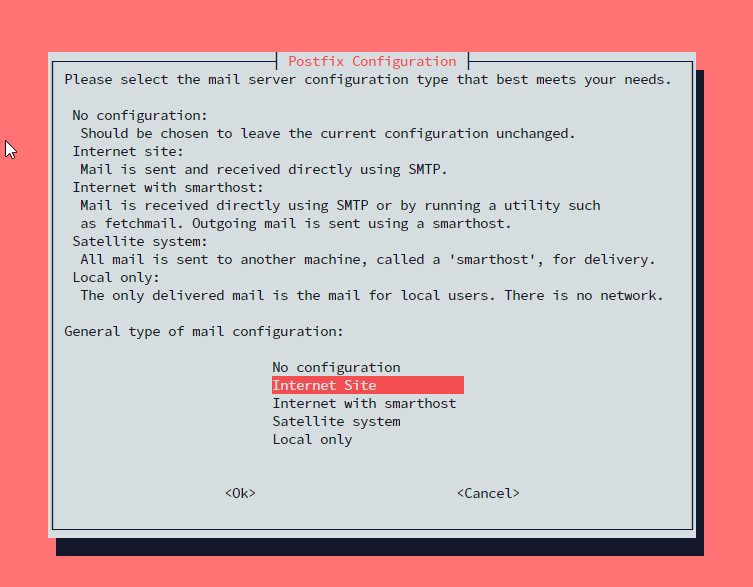
Choose an Internet Site.
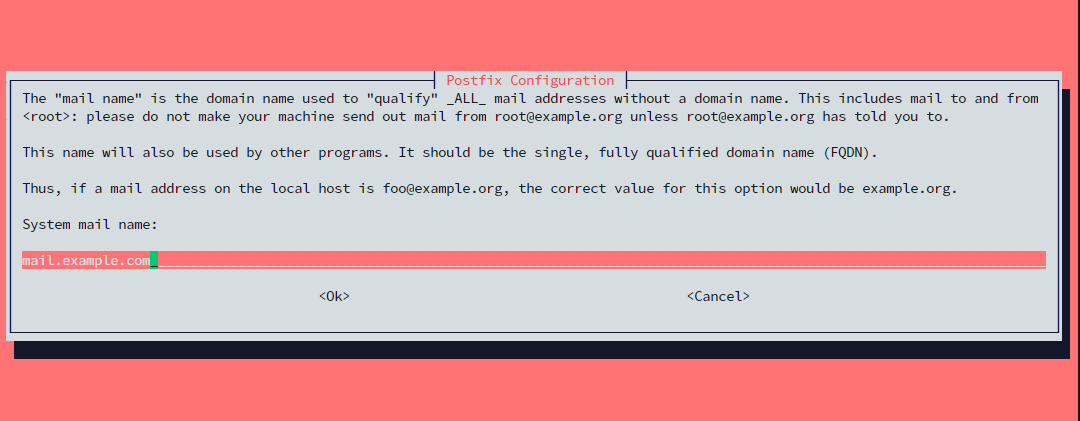
Enter a fully qualified domain name.
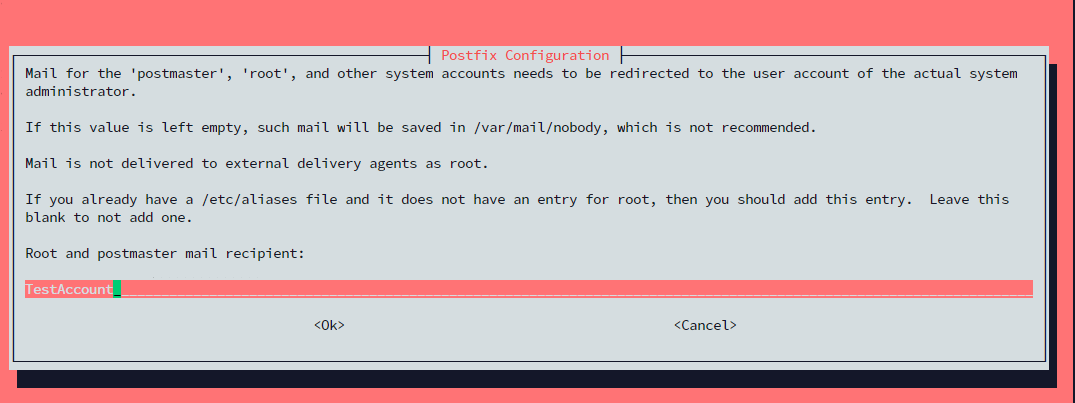
Enter the root and postmaster mail recipient
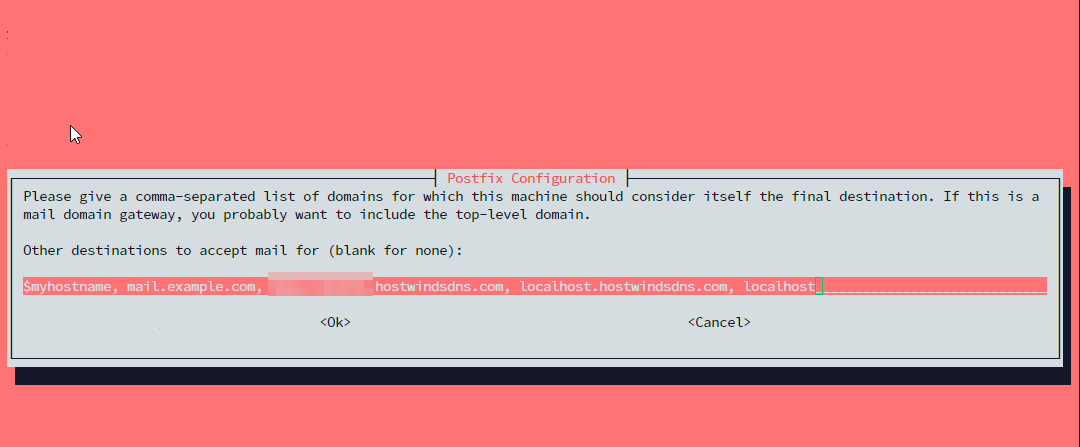
Enter other destinations to accept mail for. The defaults should be fine.
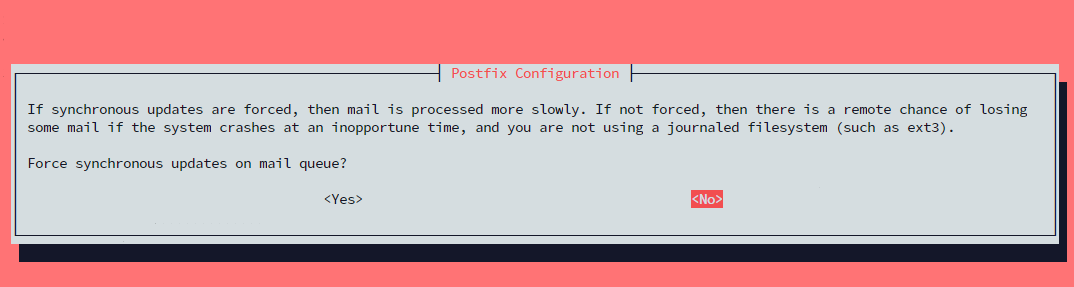
You are likely using a journaled filesystem so that you can select "no."
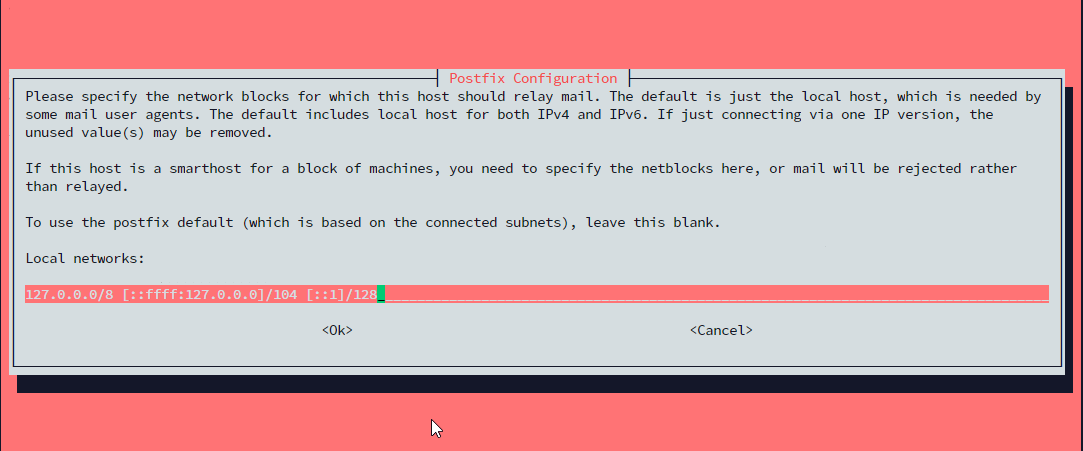
This screen will ask you to specify your local networks. You can leave this as the default.
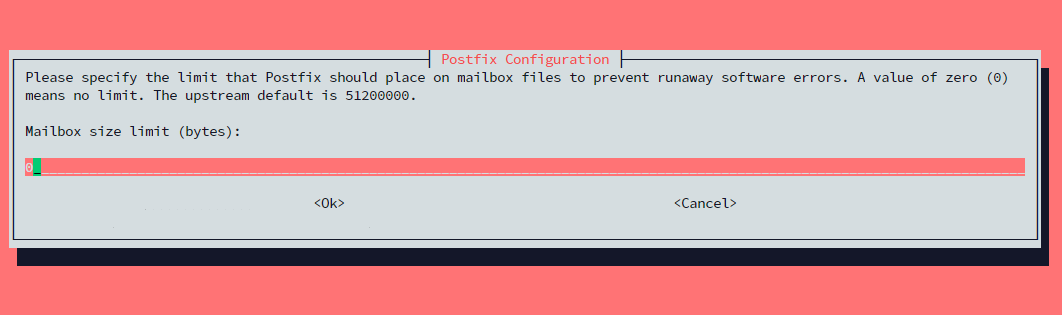
Specify the mailbox size limit in bytes. Setting it as 0 will impose no limitations.
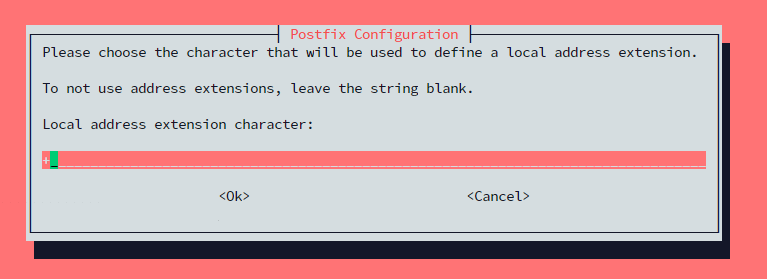
Set the character that will be used to designate address extensions.
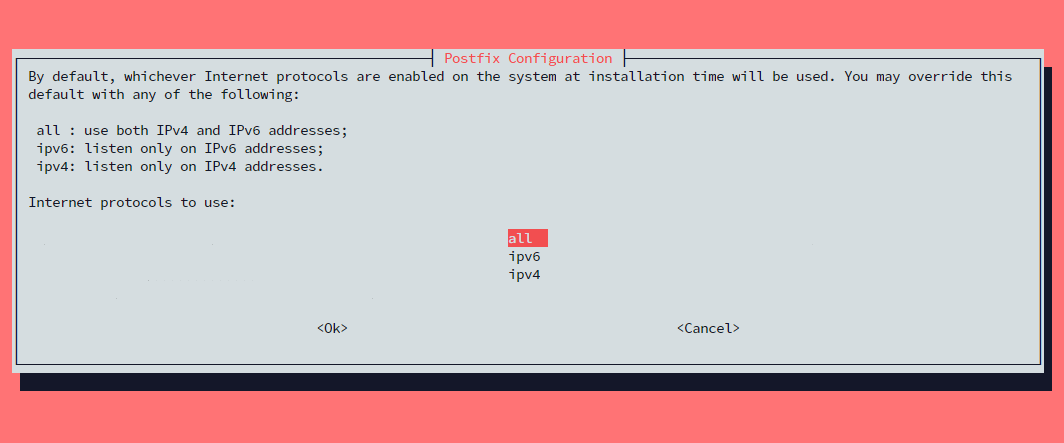
Here, we are setting which internet protocols to use with Postfix. You can leave this as all.
Step 2: Tweak Postfix
Some items were not set up during the installation of the package that we will be addressing below.
We will be creating a directory structure under the user's home directory. Set this up by typing
sudo postconf -e 'home_mailbox= Maildir/.'
We will then specify where the virtual_alias_maps table will be stored:
sudo postconf -e 'virtual_alias_maps= hash:/etc/postfix/virtual
We are now going to set up the virtual maps file. You can open this in your favorite text editor. In this tutorial, we are going to use nano.
sudo nano /etc/postfix/virtual
The formatting for this file is that the address on the left is an email address you would like to receive mail for, then a blank space, then the Linux user you would like the mail delivered to. Your file with your email addresses and Linux users will look something like the following:

Please save the file and exit the editor, and apply our mapping changes by typing
sudo postmap /etc/postfix/virtual
sudo systemctl restart postfix
The next step is to allow Postfix through the firewall. In this example, we are using ufw, and you can use the following command:
sudo ufw allow postfix
Step 3: Installing s-nail
A prerequisite of installing a mail client is going to be setting the MAIL variable. The mail client checks this variable to figure out where to get the user's mail from. For this to work, no matter how the user accesses their account, you will need to set this variable in multiple locations:
echo 'export MAIL=~/Maildir' | Sudo tee -a /etc/bash.bashrc | Sudo tee -a /etc/profile.d/mail.sh
You will also want to source the /etc/profile.d/mail.sh file into your current session:
source /etc/profile.d/mail.sh
Next, we will install the s-nail package:
sudo apt install s-nail
After this is complete, open /etc/s-nail.rc in your text editor of choice:
sudo nano /etc/s-nail.rc
At the bottom of the file, add the following lines:
set empty start
set folder=Maildir
set record=+sent
Step 4: Initialize The Directory Structure
The best way to create the Maildir structure is to send yourself an email. You will use the s-nail command with the -Snorecord option. Change the following command to match the user you want to use:
echo 'init' | s-nail -s 'init' -Snorecord user
To view all commands possible, you can view the help page for s-nail:
s-nail -h
Written by Hostwinds Team / July 31, 2019