
Hostwinds Tutorials
Search results for:
Table of Contents
Restrict RDP Access By IP Address
Tags: Firewall
What is RDP?
RDP (Remote Desktop Protocol) is a network communications protocol developed by Microsoft, allowing users to connect to another computer. The remote desktop protocol is available for Windows, Linux, and Mac operating systems.
With Remote Desktop Protocol, one can connect to any computer that runs windows. Let's say if you want to access your PC from a laptop or any other device, with RDP, you can connect to the remote PC, view the same display, and interact as if working on that machine locally.
This also means that anyone else can try to connect to your computer from any device. This guide will walk you through the process of restricting access to only authorized IP addresses.
We highly recommend that you make sure you have a static IP address, as this will lock you out of your server.
Editing Your Existing Firewall Rule
The first step is to connect to your server via RDP/VNC.
For Hostwinds, your username will always be an administrator. You can view or change your password here.
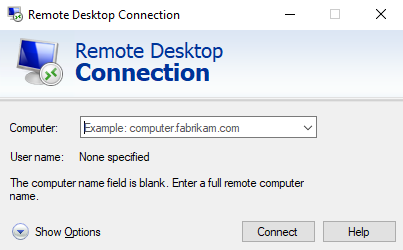
When you first launch Remote Desktop Connection from your PC, the window should look similar to this:
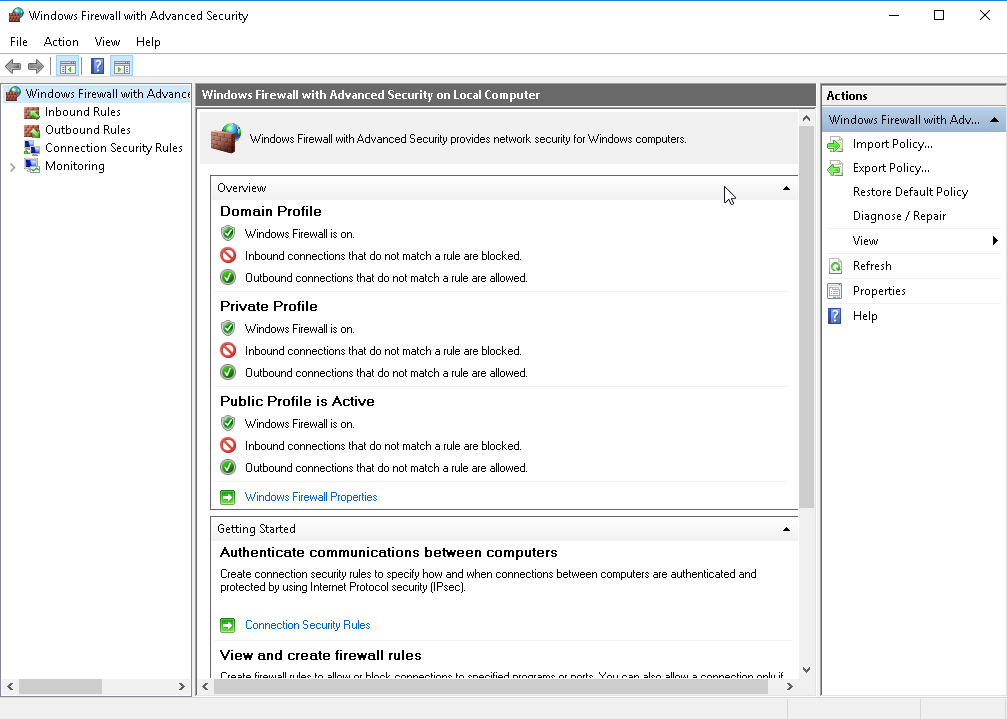
Next, you will open Windows Firewall with Advanced Security.
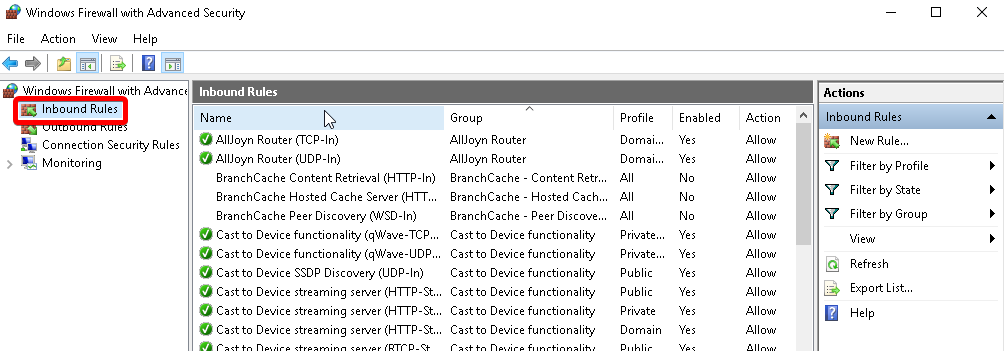
Click on Inbound Rules in the left pane, then click New Rule.
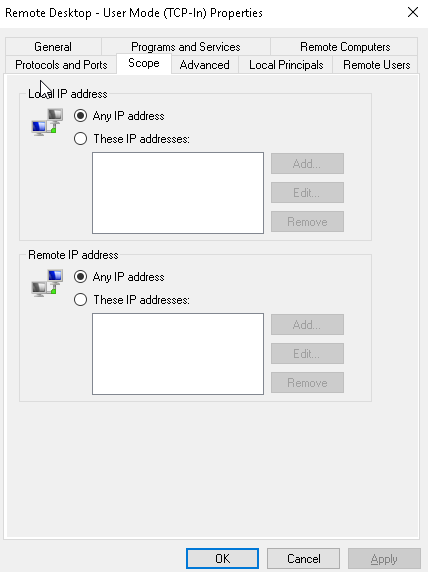
Locate the Remote Desktop – User Mode (TCP-In) rule. Then right-click the rule. Go to Properties, then switch to the Scope tab so that your screen looks similar to the one below:
Creating Your IP Restrictions
The Scope tab will add the IP addresses and ranges you want to access your server.
In the Scope tab, edit the Remote IP Address section. Click the radio button next to These IP Addresses, then click Add. If you are using a single IP Address, type it in the top text field, then click OK. Repeat this step to include additional IP addresses. After adding every desired IP Address, click the OK button to finalize the changes.
Once you finalize the changes, you can test the rule by attempting to RDP to the server using an IP outside the desired ranges. If it fails to connect, then the rule is successful.
If the rule is not successful, or you lose RDP connection to the server, you may want to log in to your server by using Get VNC from your Cloud Portal.
If you need any help, please contact the Support Team at Hostwinds by opening a support ticket so that we may assist you.
Written by Hostwinds Team / November 15, 2019